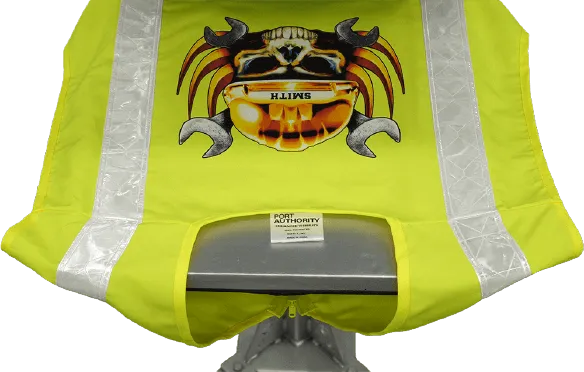
Let's get started
Watch this video to see the process of creating customized products using DTF and a Brother DTG printer or scroll down to see a step-by-step tutorial.
GTX R2R BrochureThe Process of R2R Direct to Film Printing
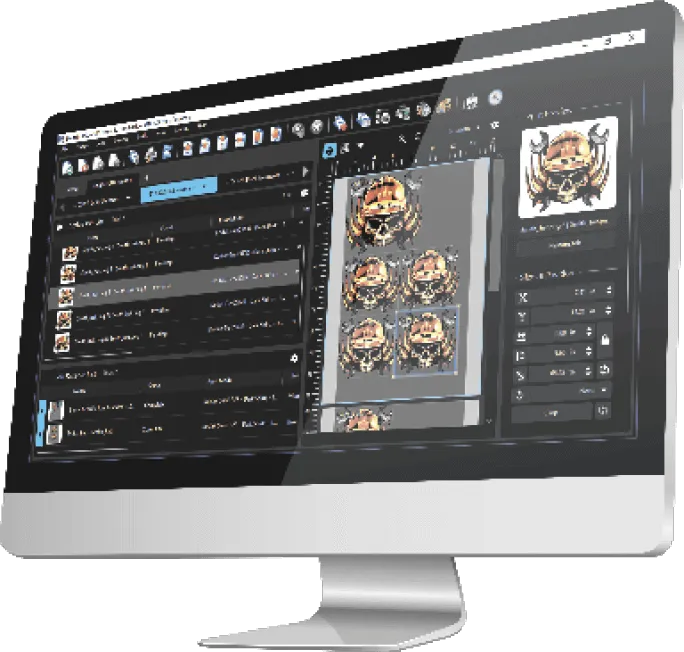
Step 1
Using Digital Factory Direct to Film edition, create the print file selecting from 3 optional print speeds - which may vary based on the design.
Step 2
Brothers GTX R2R attachment will feed the roll of film during the printing process.
Send the print file to the R2R printer and press the print button or utilize Film Print for automated continuous production.
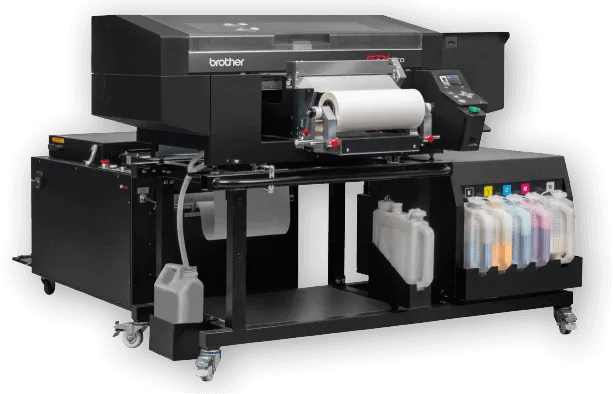
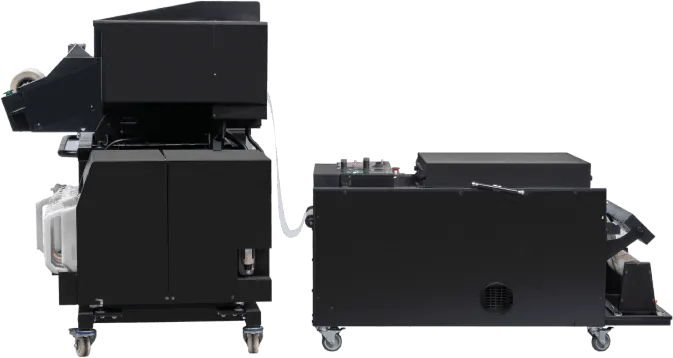
Step 3
The Brother GTX R2R will automatically feed into the adhesive application and curing device.
Step 4
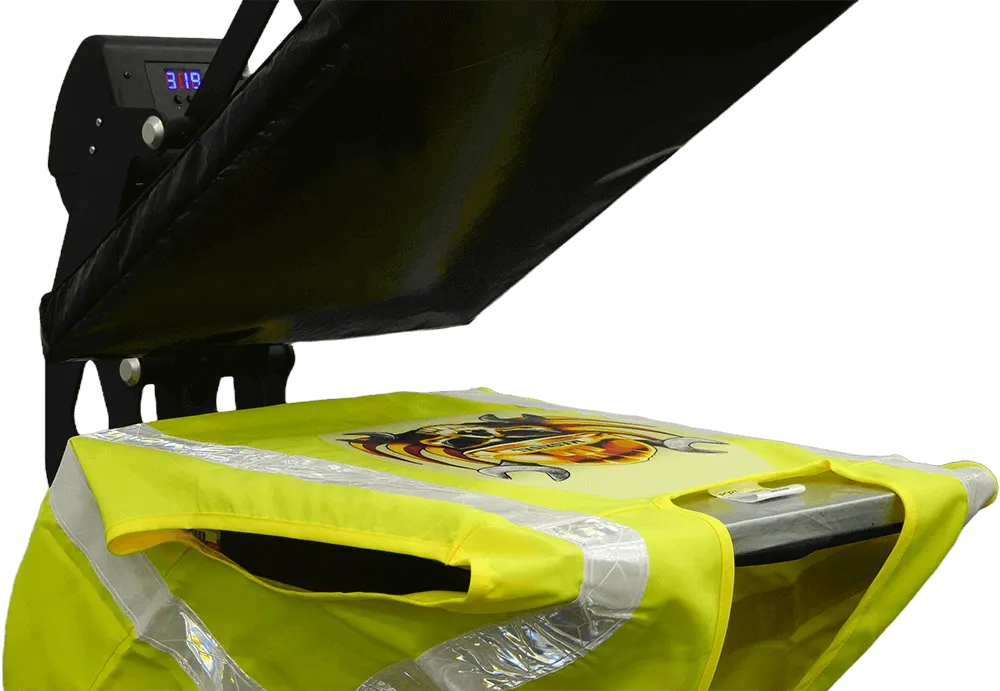
Prepress the garment or item for 2-5 seconds to remove wrinkles. Flip the film over on to the garment and position it in place. Cure by referring to the DTF brands instructions for guidance on specific curing conditions.
Step 5
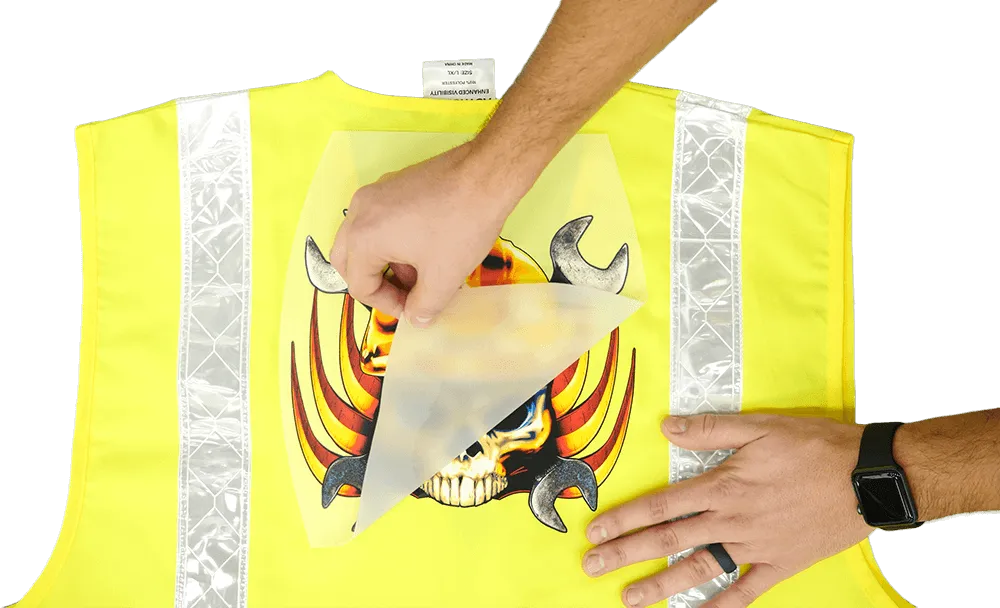
Remove the garment or item from the heat press and follow the films removal instructions based off the DTF brand.
Step 6
Repress the garment based on the DTF brands instructions for guidance on specific curing conditions.
