Do More with Brother DTG!
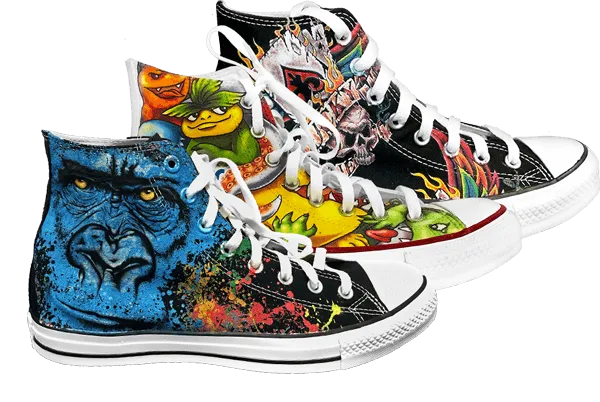
Create custom footwear & more to expand your business!
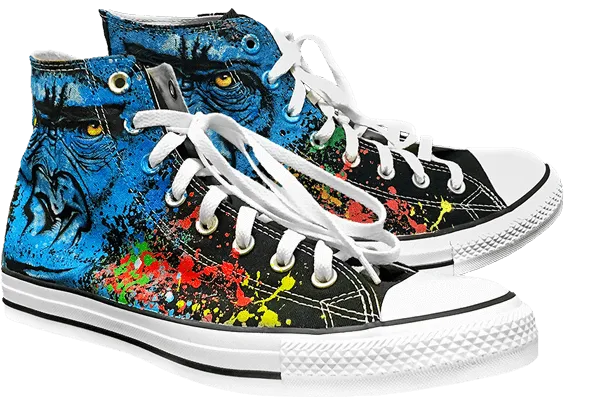
Printing t-shirts is a great way to build a foundation for your business, but why stop there? With our shoe platen, you now have the ability to create customized shoes helping to expand your product offering and increase your sales. Our Brother DTG printers have a large print head-to-substrate gap that allows them to print over seams, zippers and even shoe eyelets. Ready to learn how? Just simply read or watch the videos below!
To learn about custom footwear, complete the form below or call 1-866-750-2543 to speak with a DTG Specialist.
Fields marked with an asterisk(*) are required.
Creating customized shoes is a breeze with the right gear. Here are the items you need to get started:
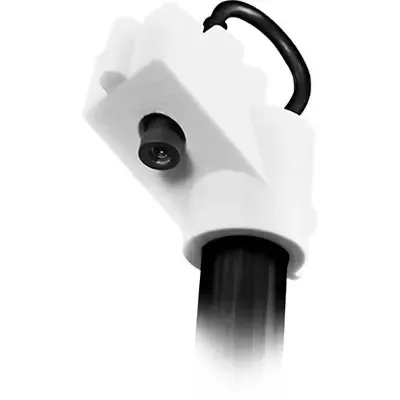
AccuLine Camera System (optional)
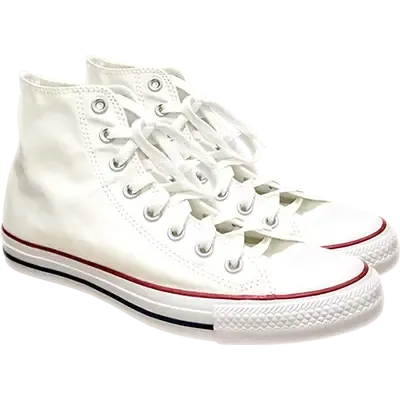
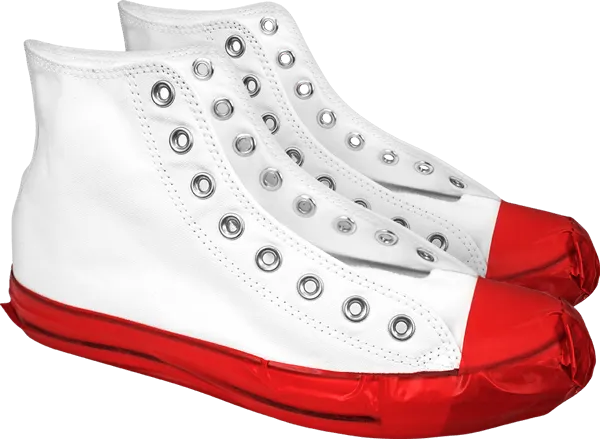
Blank Shoes
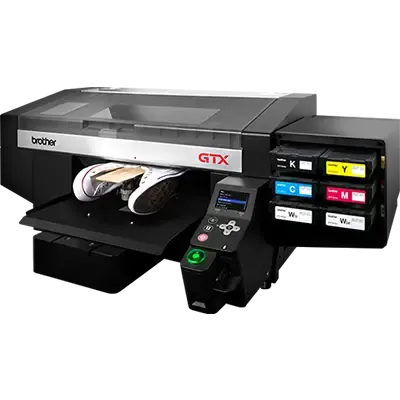
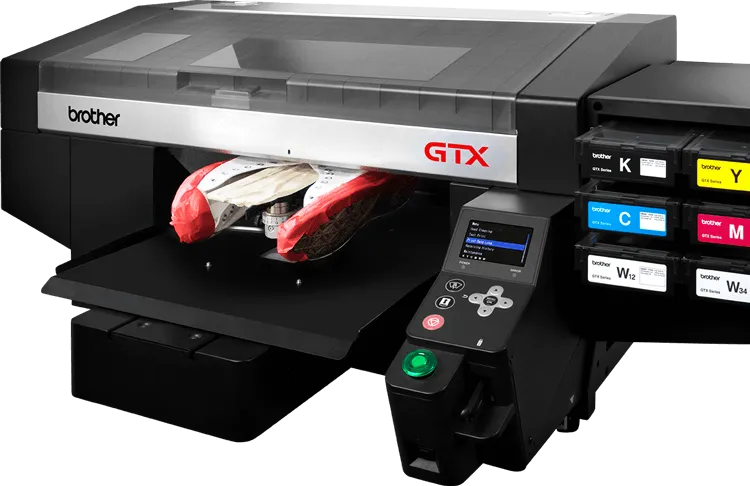
Any Brother DTG Printer
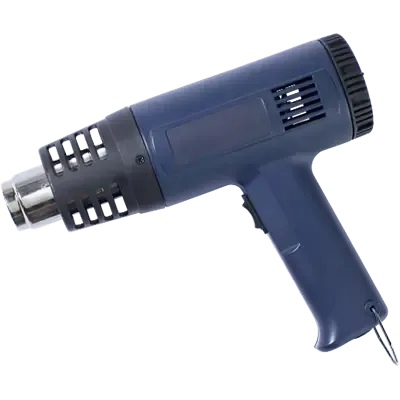
HeatGun or Conveyor/Dryer
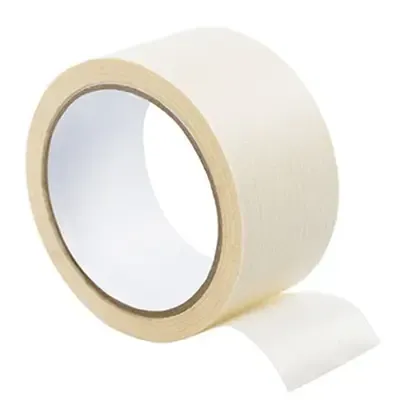
Masking Tape
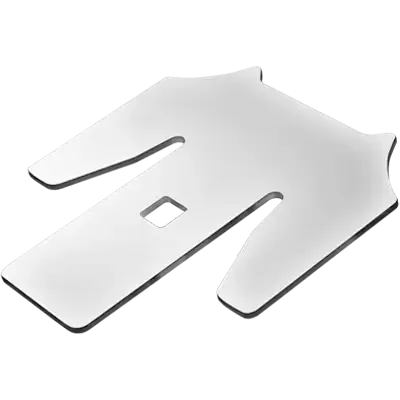
Shoe Platen
Double Sided Tape
Let's Get Started
Watch this video to see the process of creating customized footwear using a Brother DTG printer or scroll down to see a step-by-step tutorial.
More Shoe Platen VideosThe Process of Shoe Printing
Step 1
Masking
Using the masking tape, mask off the parts of the shoes you don’t want printed (i.e. rubber soles,…).
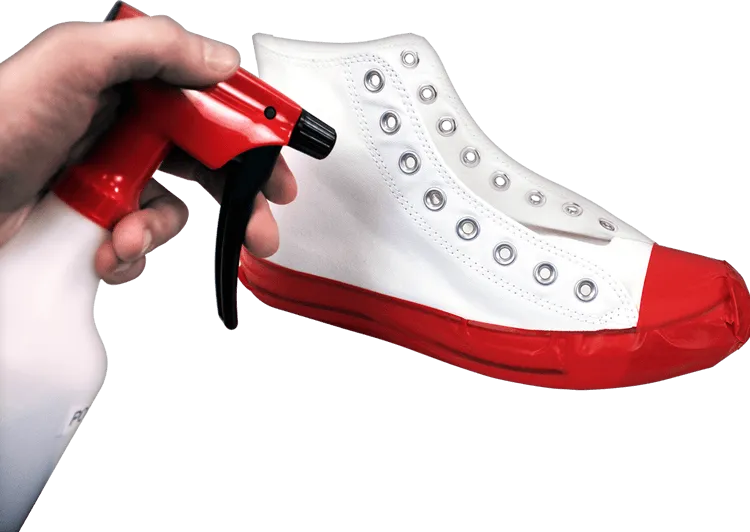
Step 2
Pretreat the shoes
Pretreat the shoes with the appropriate type of pretreat. Use a light garment pretreat when printing only CMYK inks on a light-colored shoe. Use the Brother DTG pretreat for printing a dark-colored shoe or when printing with white ink.
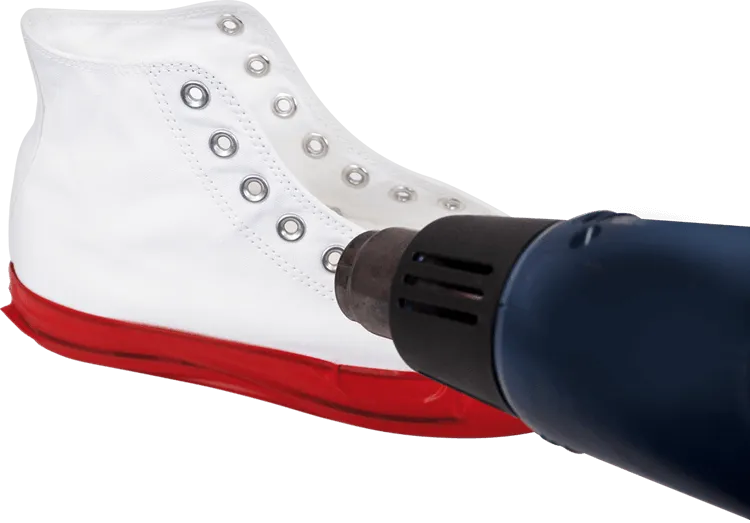
Step 3
Cure the Pretreat
Cure the pretreat using a heat gun.
For larger production needs, speak with a DTG Specialist about using a conveyor dryer/box.
Step 4
Shoe Insert
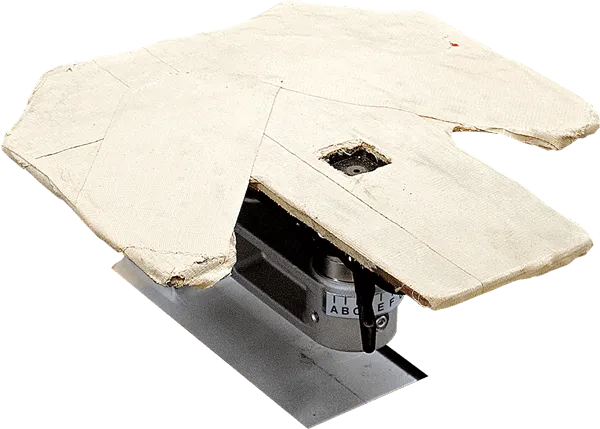
Cover the correct size Shoe Insert with double sided tape and load the Shoe Platen on the Brother GT Printer.
Step 5
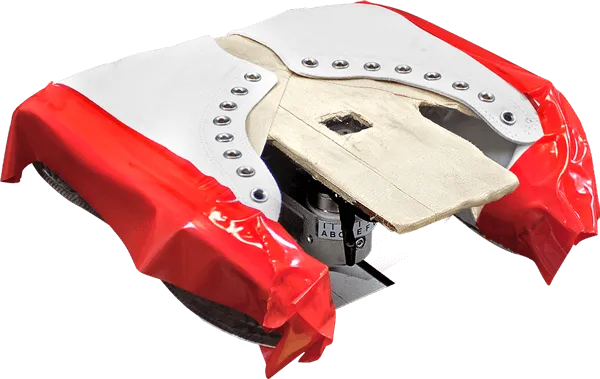
Load the blank shoes on the Shoe Platen.
Step 6
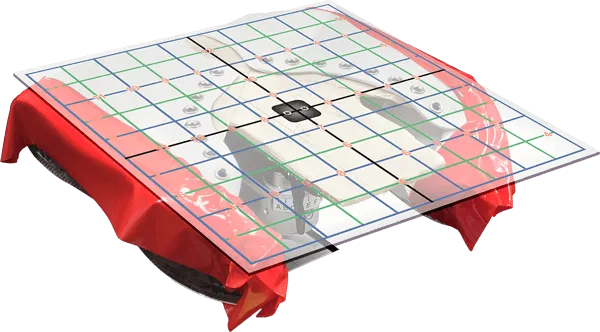
Determine the appropriate positioning
Using the included Alignment Jig from the Shoe Platen or AccuLine determine the appropriate positioning of the artwork in the template in your graphic software program.
To learn more about how the AccuLine Camera System can make it easier to print in precise locations, visit BrotherDTG.com/AccuLine.
Step 7
Print settings
Select the desired print settings and send the print file to the Brother DTG printer.
Note: For some shoes, it may be best to run the printer in uni-directional print mode to print crisp designs.
Step 8
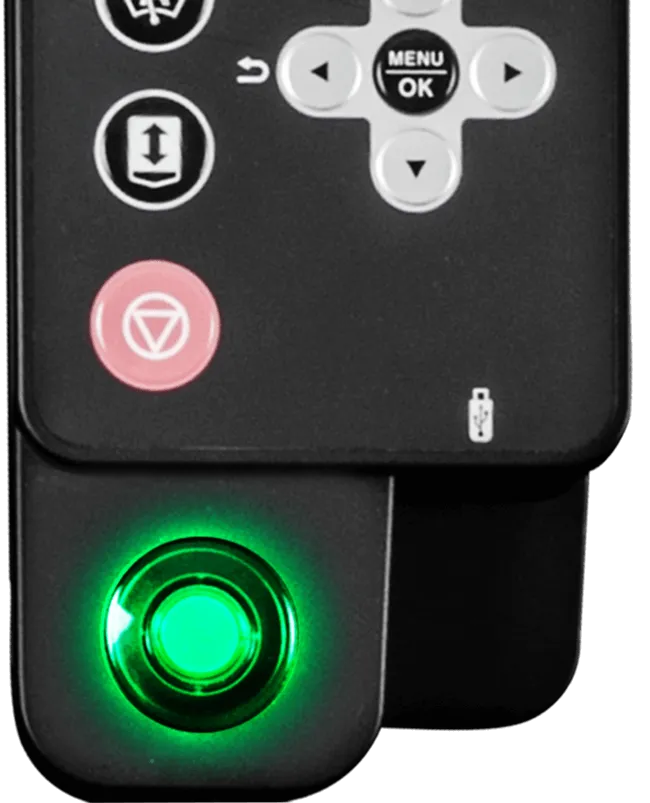
Print the blank shoes by pressing the green button
Step 9
Cure the ink
Carefully remove the printed shoes from the shoe platen and remove the masking tape.
Then cure the ink using a heat gun or conveyor/dryer box.

See how to make your prints pop even on dark colored shoes.