Direct to YES!
Maximixe the power of a direct-to-garment printer with Direct to Film
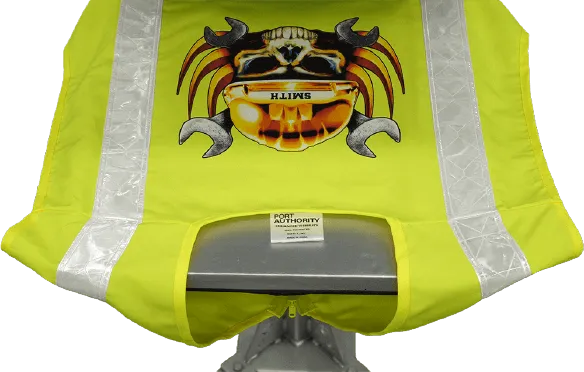
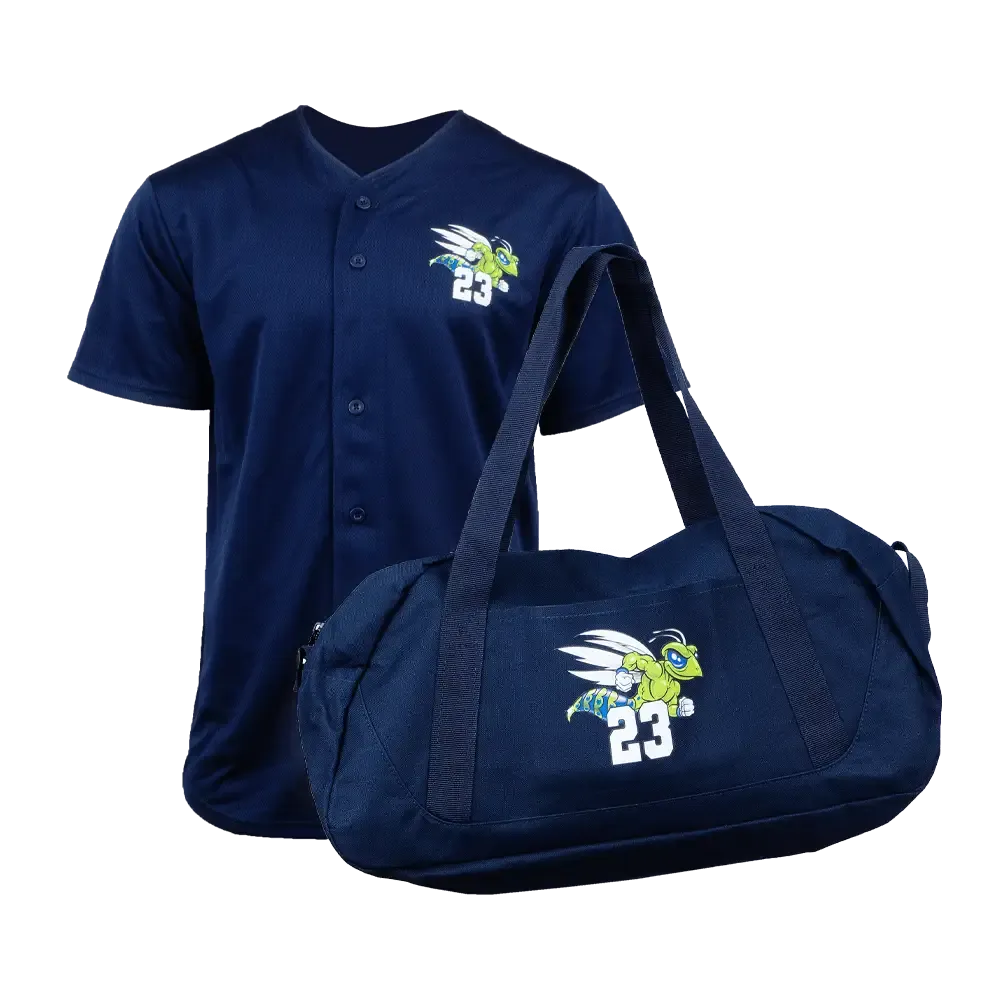
Expand your options beyond t-shirt printing and open up many additional opportunities for your business! Utilizing Direct-to-Film, broaden your product offerings and increase your sales. Customize large, bulky items, cleanly apply to synthetic fabrics, and work with items requiring lower curing temperatures, or increase your efficiency with small left prints by printing a whole sheet at a time.
See more of what DTF can do for you in the information below.
To learn more about DTF printing with a Brother DTG printer, complete the form below or call 1-866-750-2543 to speak with a DTG Specialist.
Fields marked with an asterisk(*) are required.
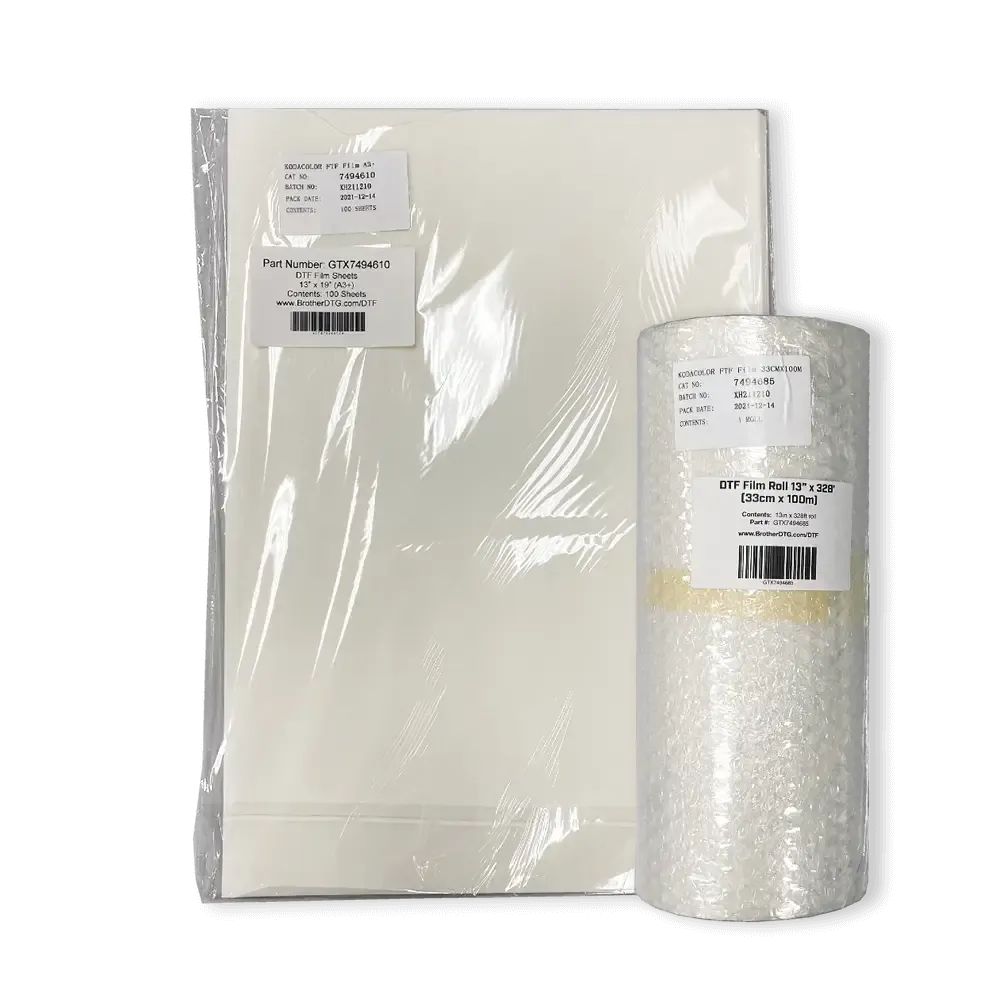
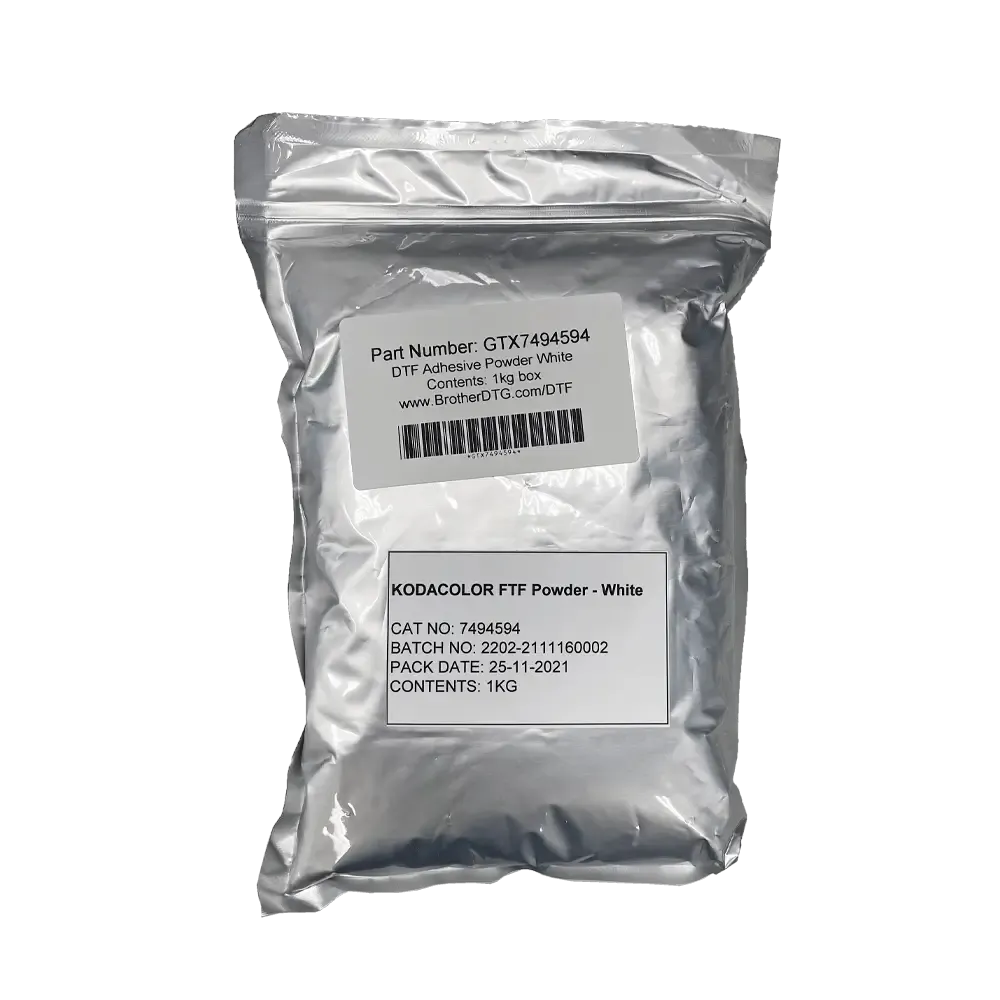
Creating customized shoes is a breeze with the right gear. Here are the items you need to get started:
Let's Get Started
Watch this video to see the process of creating customized products using DTF and a Brother DTG printer or scroll down to see a step-by-step tutorial.
The Process of Direct to Film Printing
Step 1
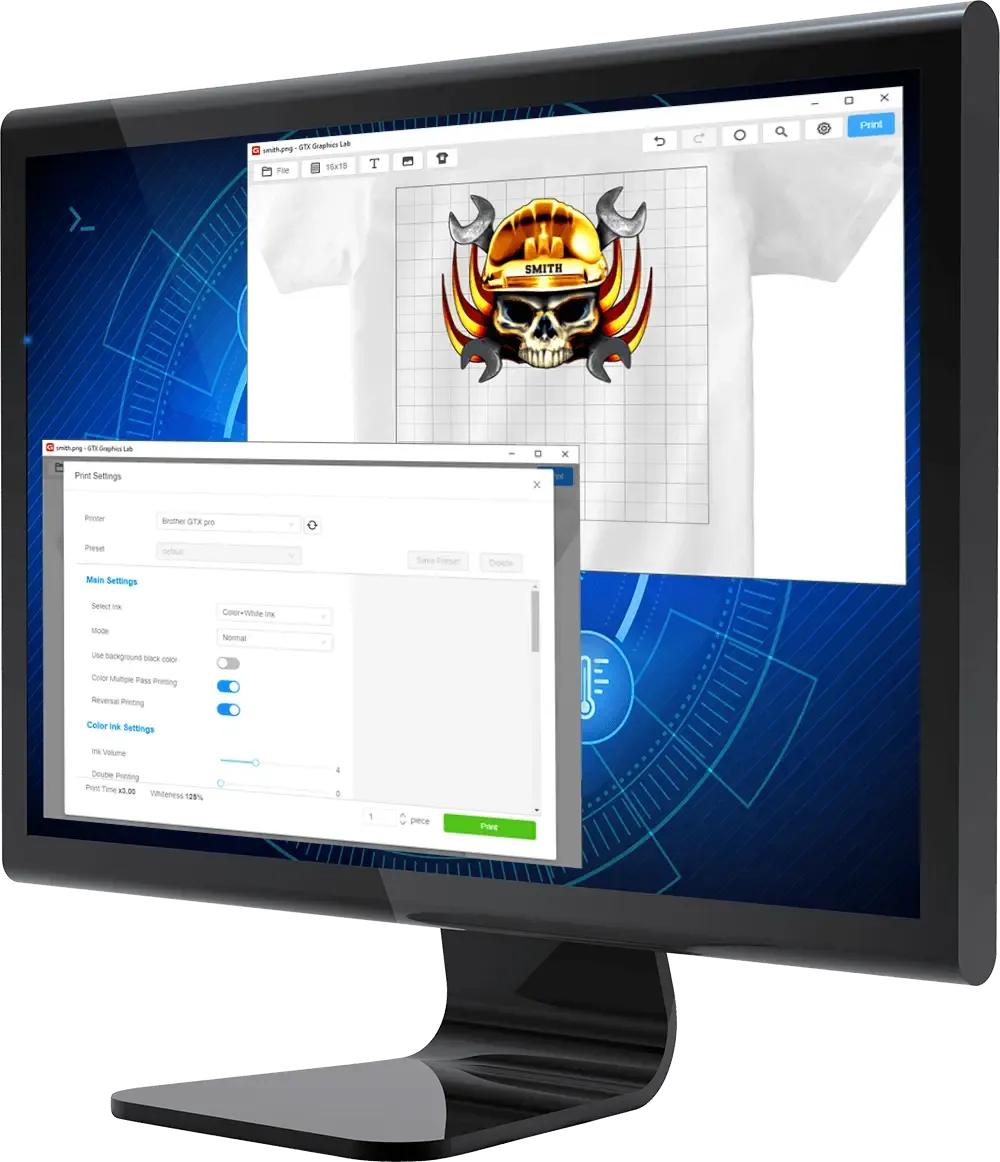
Create a print file
Using GTX Graphics Lab, create the print file using the appropriate ink settings - which may vary based on the design. For all DTF prints, leave color multi-pass turned on for both CMYK and CMYK+W.
Recommended Ink Settings:
- CMYK Only Prints - set the ink volume to 5 or 6, double print set to 0 and color multi-pass turned ON.
- CMYK+White Prints - set the ink volume to 3 or 4 and turn on Eco Mode. Set the highlight anywhere from 3 to 5 and a mask of 1 to 2. Add a minimum whiteness of 1 to 3.
Step 2
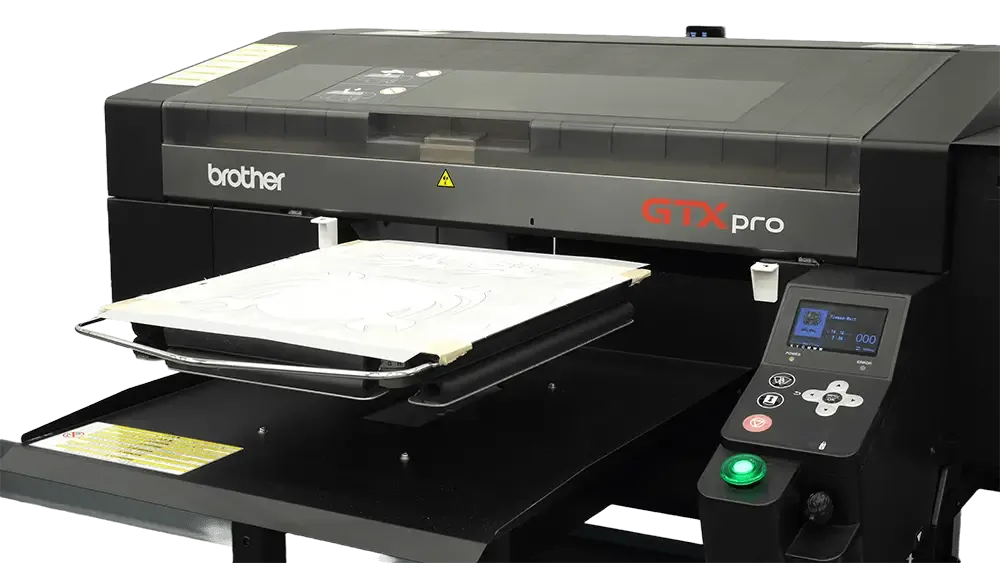
Position the film
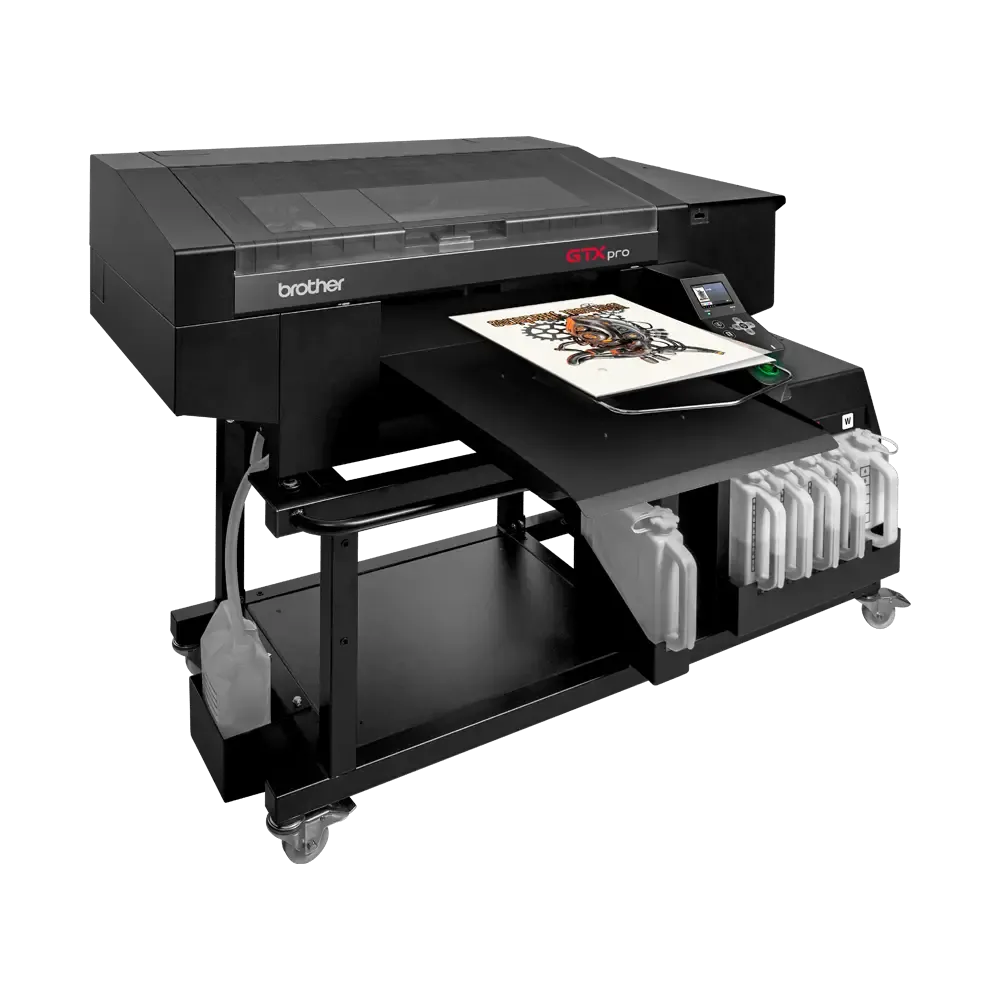
Position the film on the platen with matte side up and tape down the film to keep it from lifting or shifting during the printing process. Send the print file to the Brother DTG printer and press the Print button.
Step 3
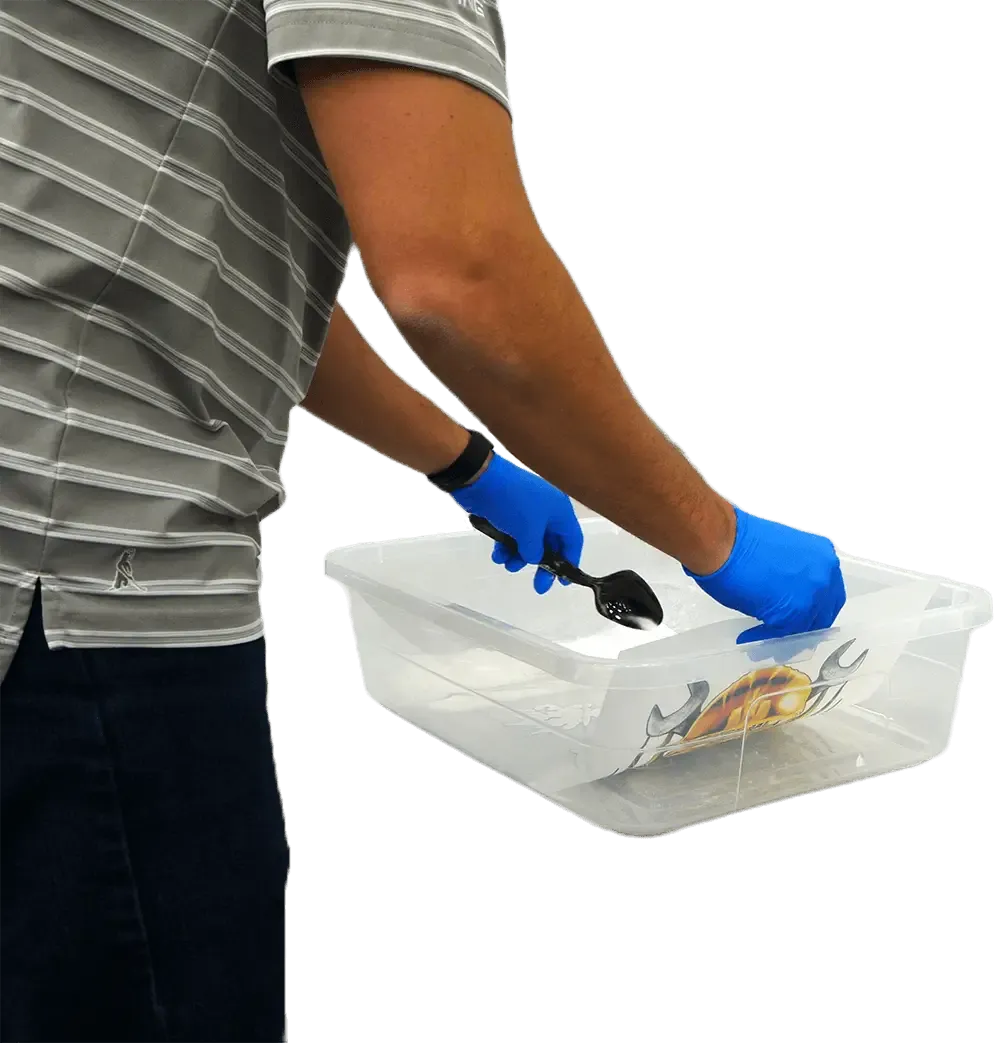
Coat the film with the adhesive powder
Evenly coat the film with the adhesive powder by placing it in a large plastic container and sliding the adhesive across the top of the ink. For prints with fine letters or lines, use a shaker to prevent the ink from smearing. Slide off the excess powder back into the larger plastic container.
Step 4
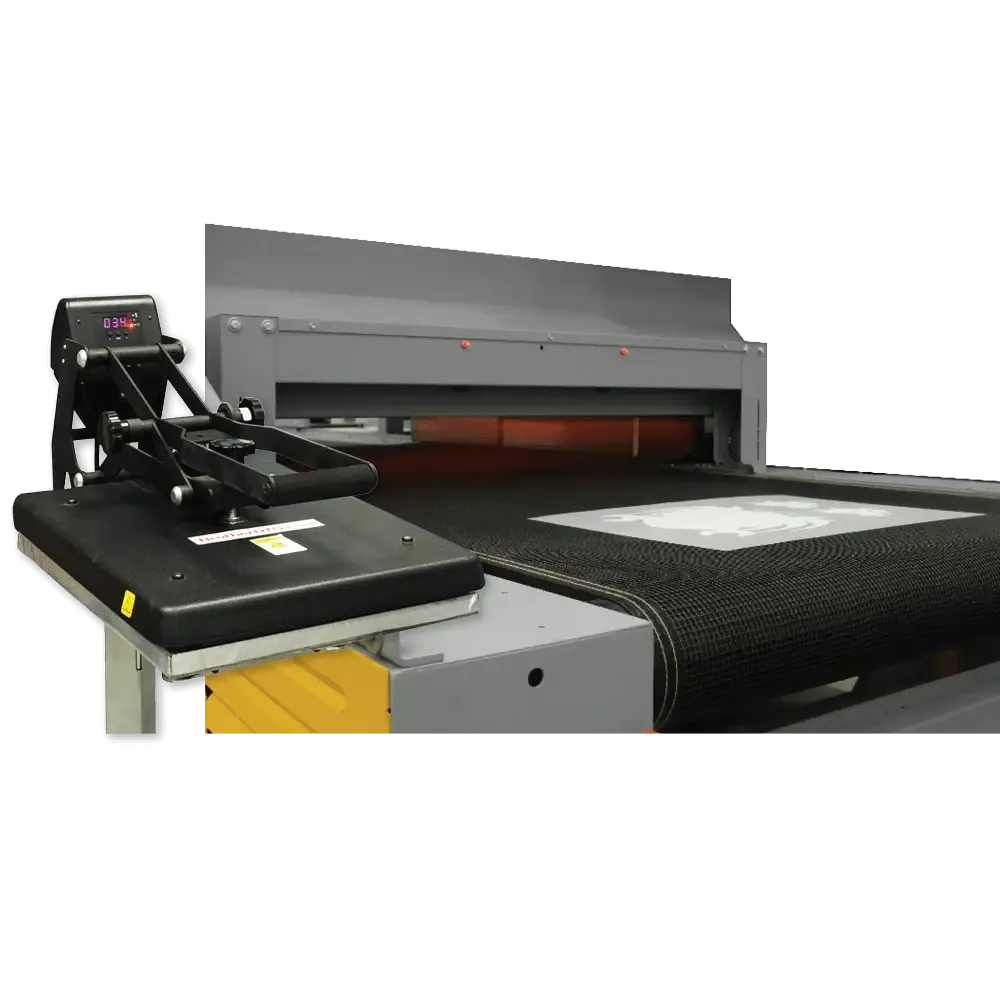
Cure the adhesive powder
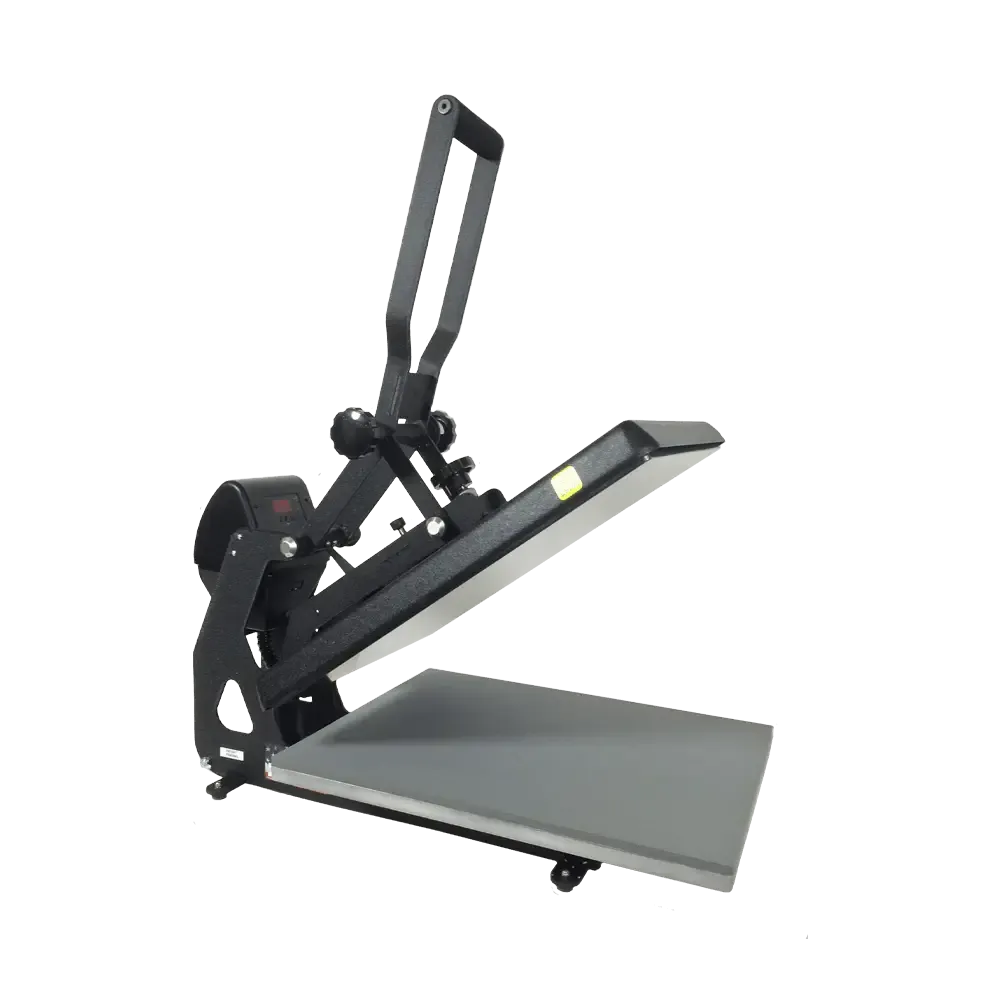
Cure the adhesive powder to the film either using a dryer or heat press.
Heat Press Method:
- Create a 1/4” gap from the bottom of the heating element to the film.
- Cure at 284-302 degrees F for 3-5 minutes.
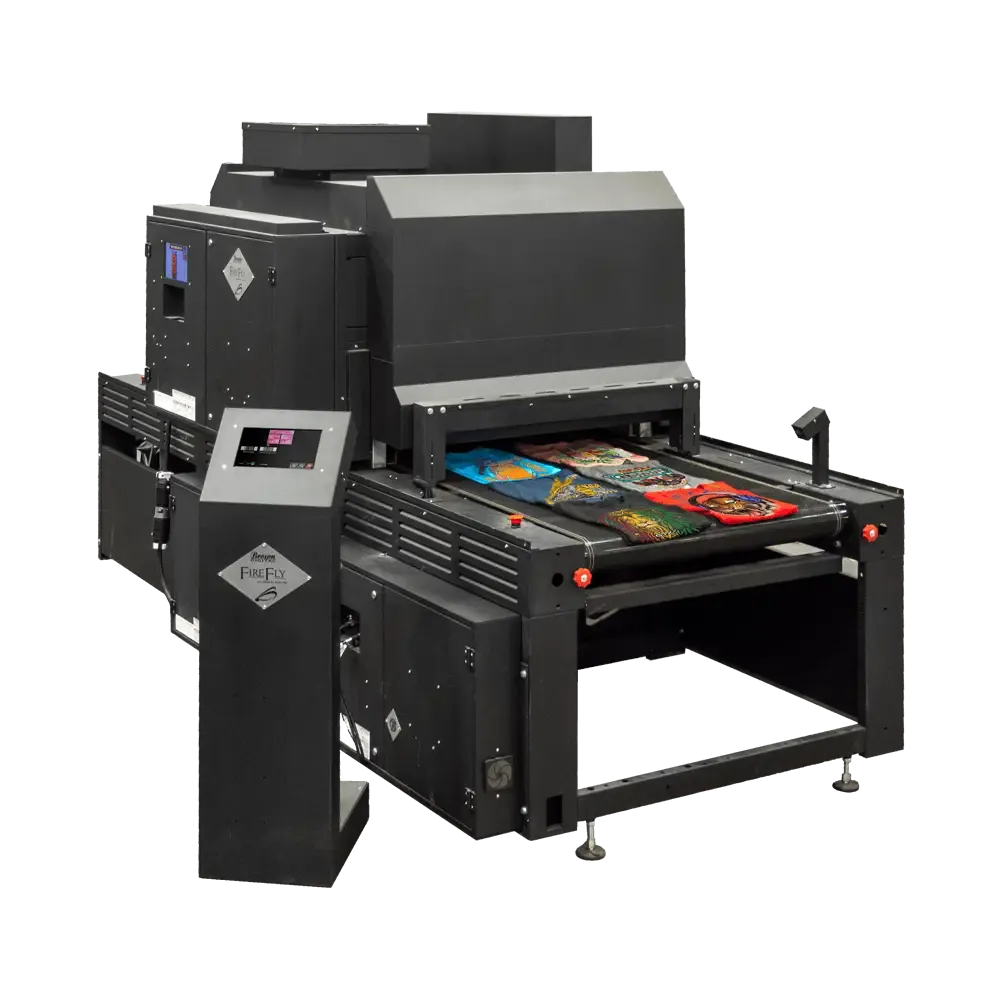
Conveyor Dryer Method:
- Set forced air fans to lowest setting or off.
- Cure at 212-248 degrees F for 2-3 minutes.
Step 5
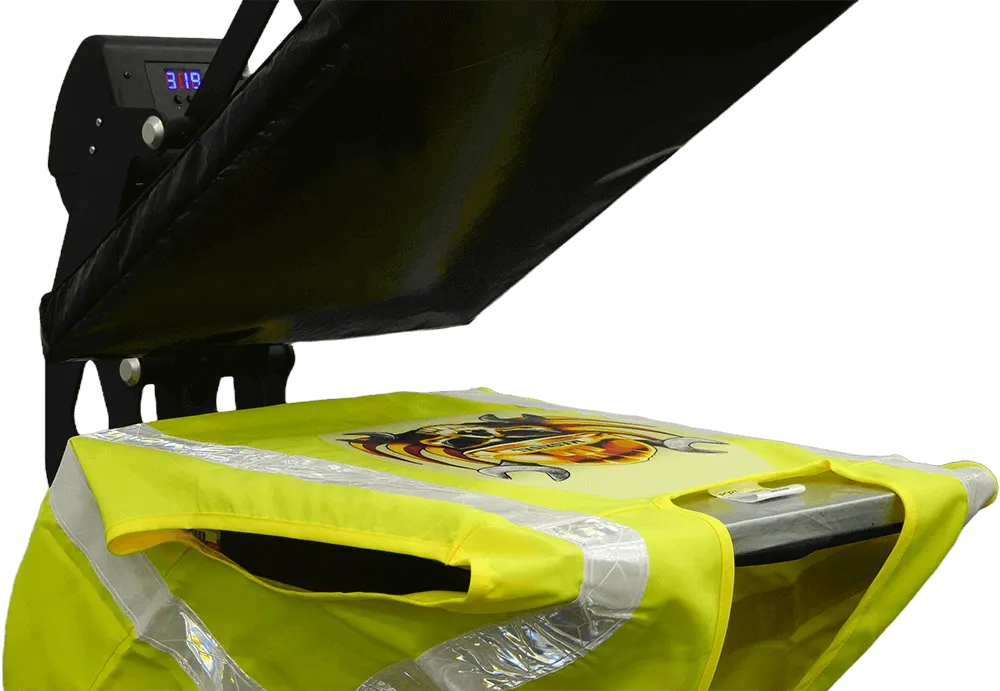
Prepress the garment
Prepress the garment or item for 2-5 seconds to remove wrinkles. Flip the film over on to the garment and position it in place. Refer to the the Application Guide to use on your film. If using Kodak, please review here for combined application guides.
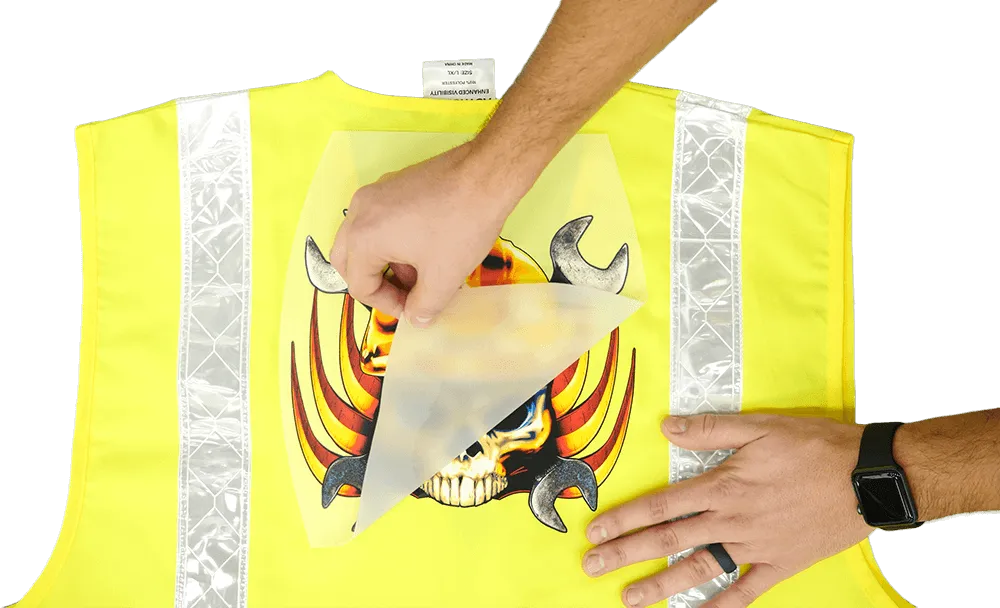
Step 6
Remove the garment
Remove the garment or item from the heat press and refer to the Film used application guide on when to peel. If using a Cold Peel, allow the garment to cool to touch and peel the film from the garment. If using a Hot Peel, you can peel the film from the garment immediately.
Step 7
Repress the garment
Repress the garment at 320-356 degrees for 10-15 seconds.