Do More with Brother DTG!
Create custom hats & more to expand your business!
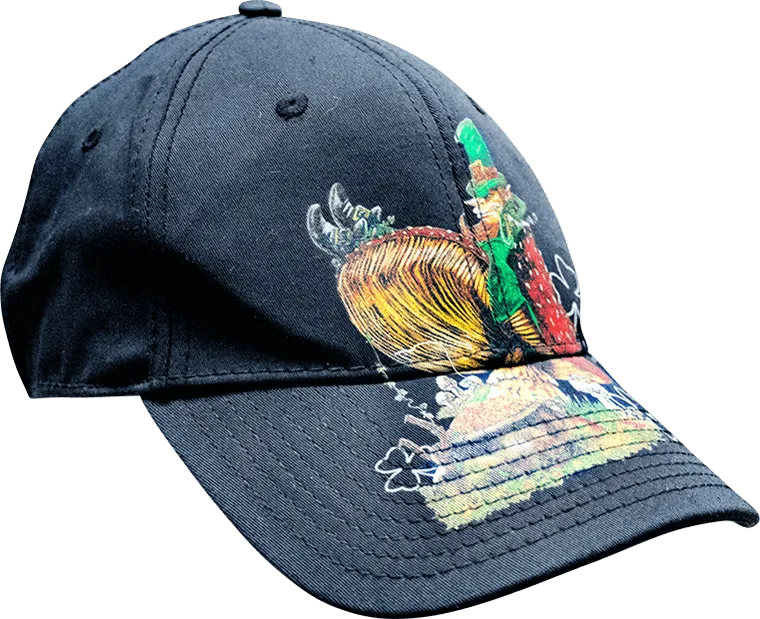
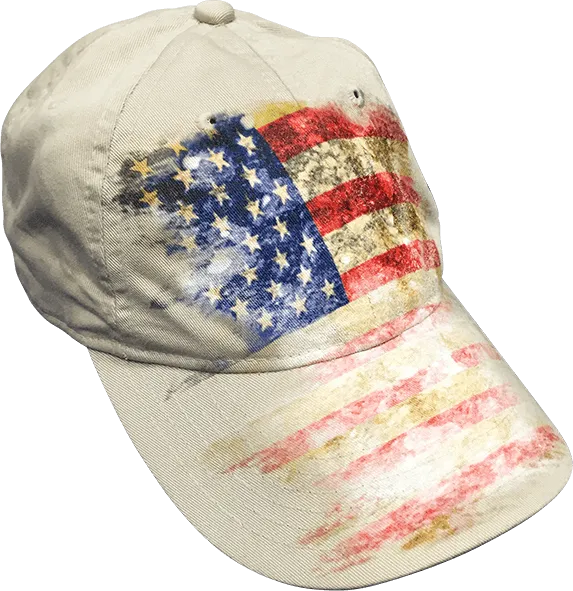
Printing t-shirts is a great way to build a foundation for your business, but why stop there? With our cap platen, you now have the ability to create customized headwear helping to expand your product offering and increase your sales. Our Brother DTG printers have a large print head-to-substrate gap that allows them to print from the top of the crown down to the bill on most types of hats – including going over the seam. Ready to learn how? Just simply read or watch the videos below!
To learn about custom footwear, complete the form below or call 1-866-750-2543 to speak with a DTG Specialist.
Fields marked with an asterisk(*) are required.
Creating customized caps is a breeze with the right gear. Here are the items you need to get started:
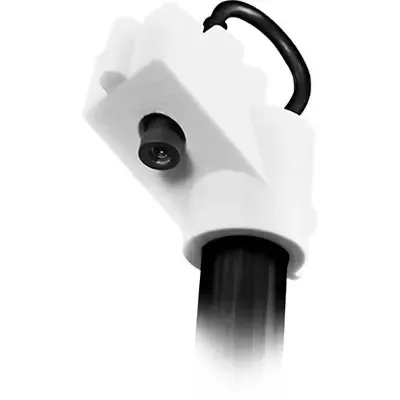
AccuLine Camera System (optional)
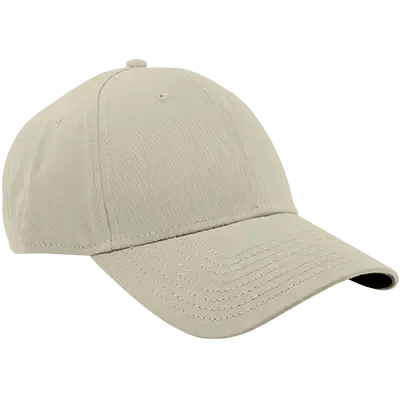
Blank Caps
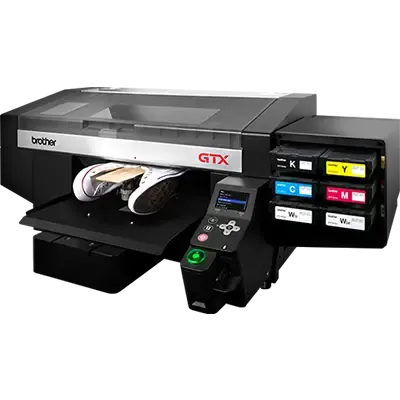
Any Brother DTG Printer
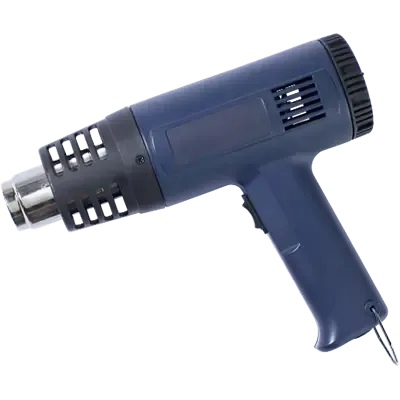
HeatGun or Conveyor/Dryer
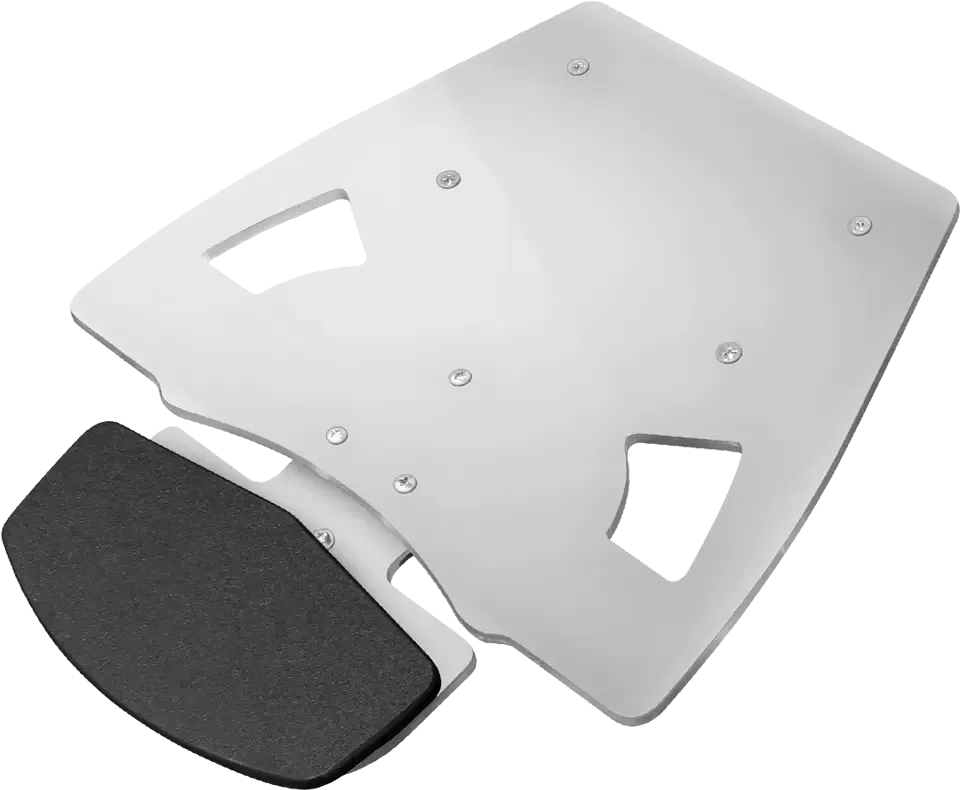
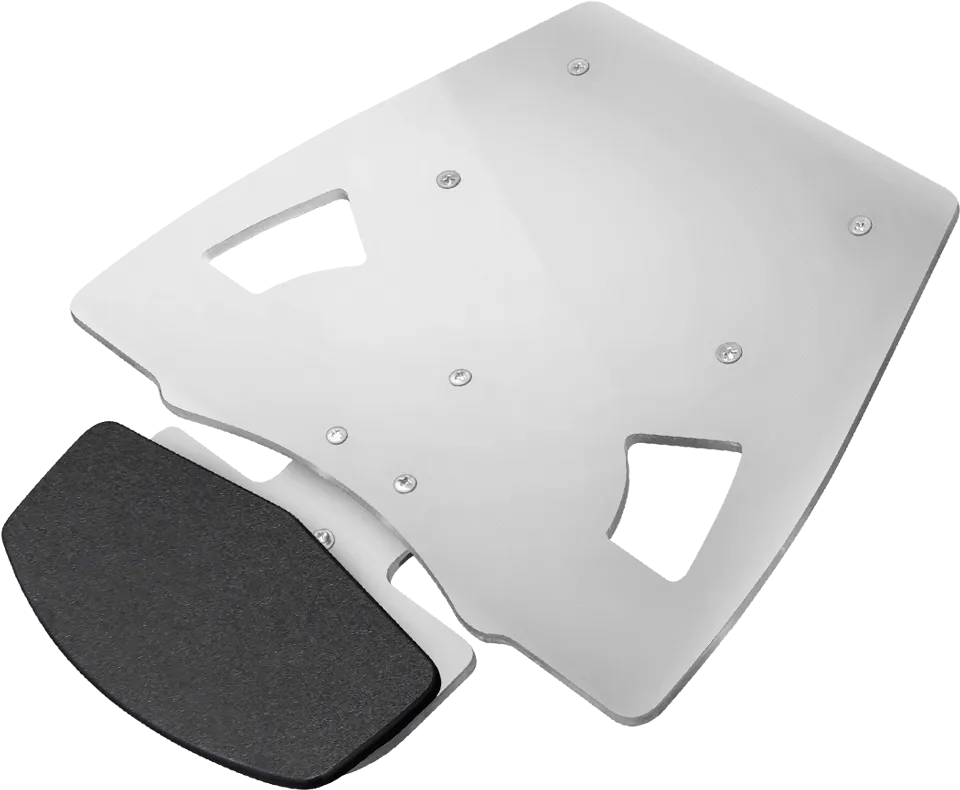
Cap Platen
Let's Get Started
Watch this video to see the process of creating customized headwear using a Brother DTG printer or scroll down to see a step-by-step tutorial.
More Cap Printing VideosThe Process of Cap Printing
Step 1
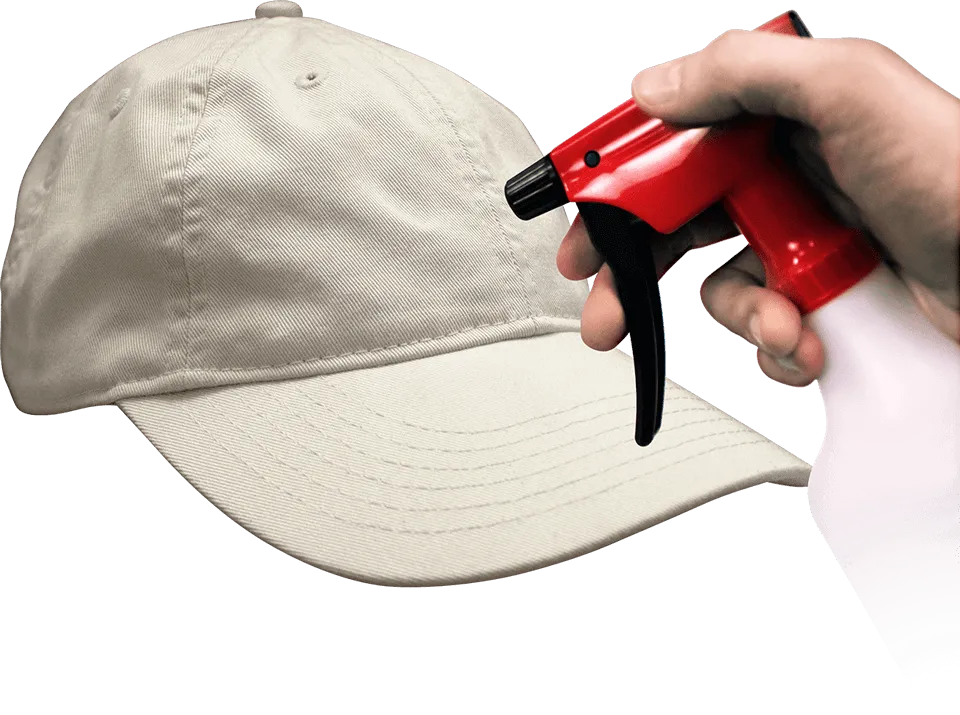
Pretreat the cap
Pretreat the cap with the appropriate type of pretreat. Use polyester pretreat for printing CMYK only ink on light garments or use Brother DTG pretreat for printing with white ink on dark-colored caps.

Step 2
Cure the pretreat using a heat gun or conveyor dryer/oven
Step 3
Load the Cap Platen
Load the Cap Platen on the Brother GT Printer with the appropriate riser based on the type of cap being printed. It is recommended for structured caps to use the Small Riser and the Large Riser for unstructured caps.
Step 4
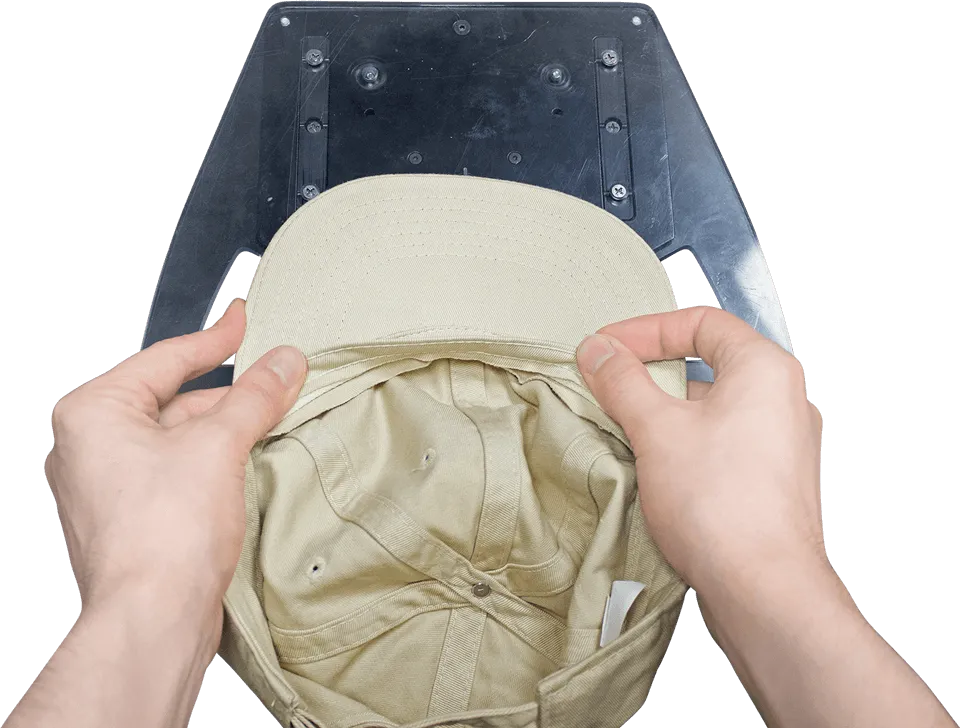
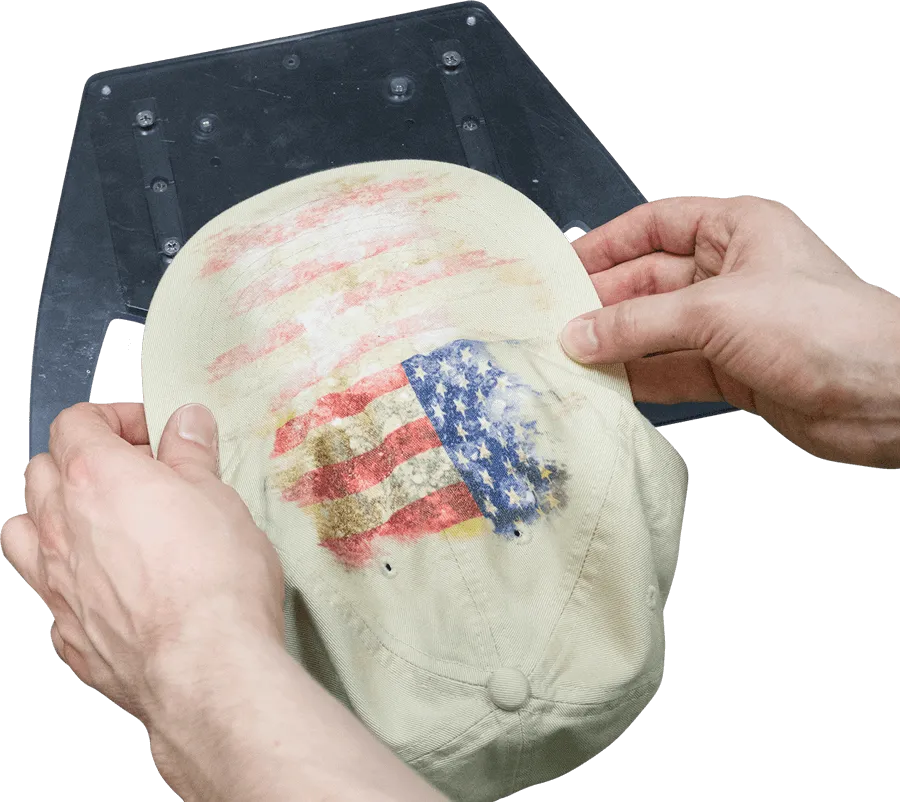
Load the blank cap
Load the blank cap on the Cap Platen by flipping the sweat band down and sliding it under the front lip of the riser.
Step 5
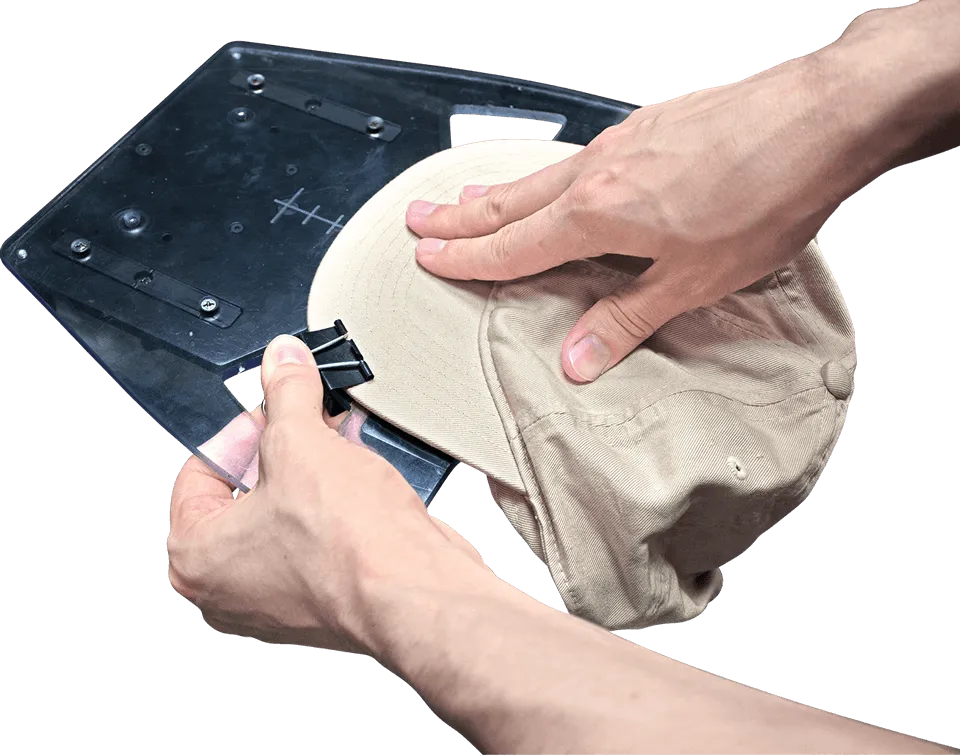
Align the cap
Use the vertical line on the Cap Platen to align the cap straight prior to securing the bill of the cap using the included black clips.
Step 6
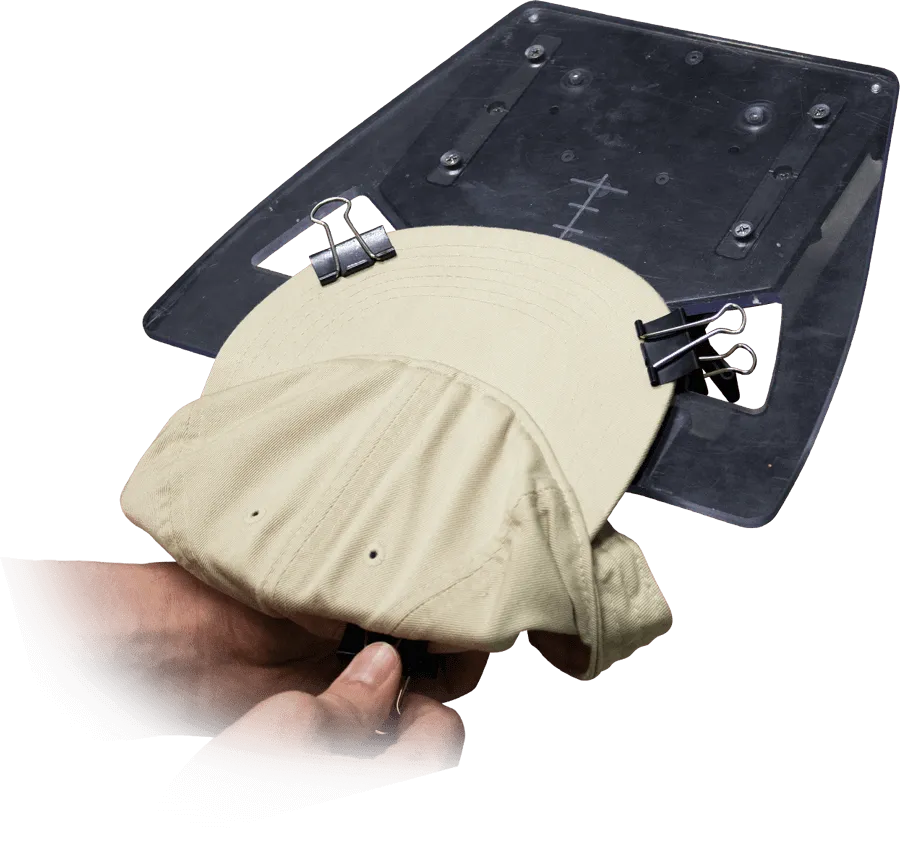
Secure the cap
Pull the crown of the cap over the riser and secure it to the back of the Cap Platen. Try to make the crown of the cap as flat as possible across the riser.
Step 7
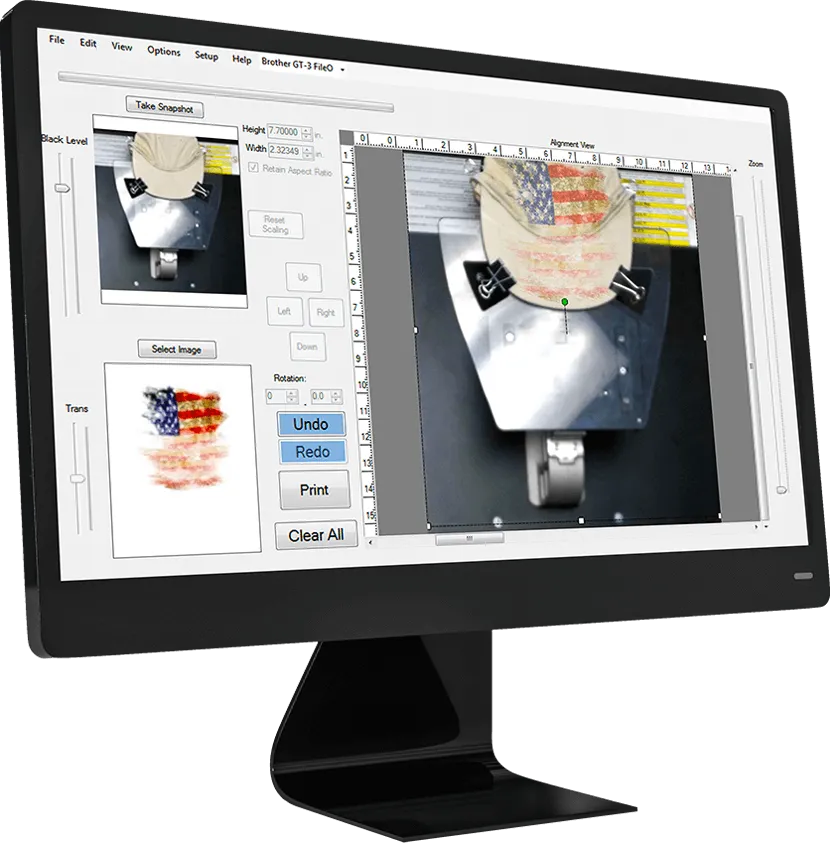
Position the artwork
Using the included artwork template for the Cap Platen or AccuLine Camera System, determine the appropriate position of the artwork.
Step 8
Print the blank cap
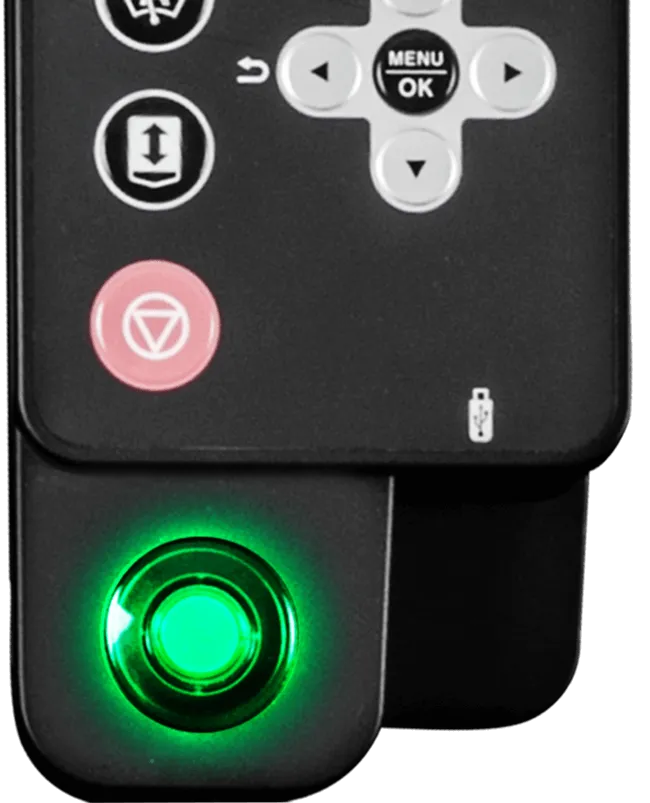
Select the desired print settings and send the print file to the Brother DTG printer. For printing on the crown and bill of the cap, create the print file for uni-directional print mode.
Print the blank cap by pressing the green button.
Step 9
Carefully remove the printed cap from the Cap Platen
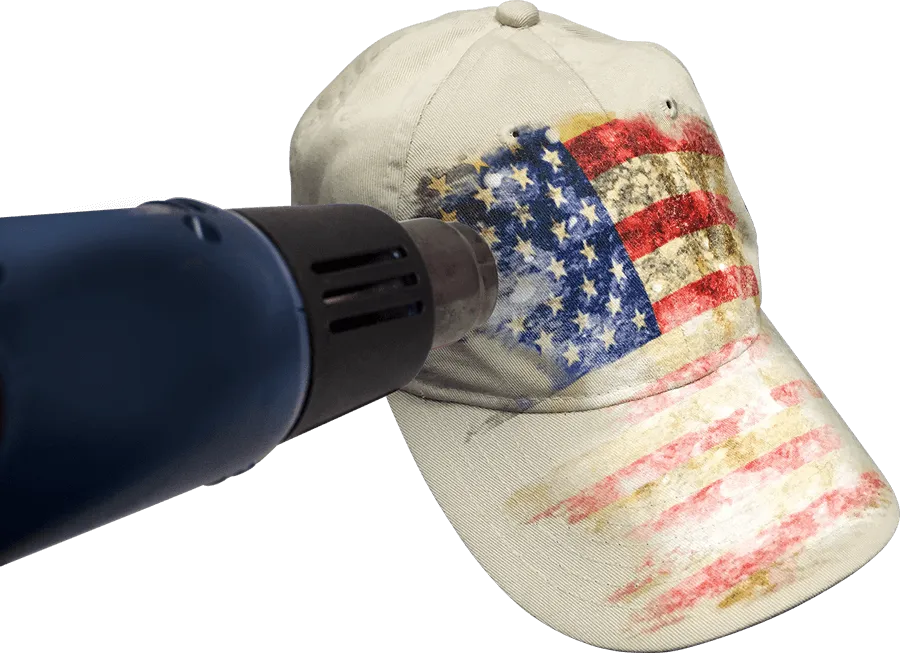
Step 10
Cure the printed cap using a heat gun or a conveyor dryer/oven.
Watch how to print on a structured cap.